Chicken Little Preps guide to getting started—minus the fear and forty-gallon drums of cheese sauce.
Why Emergency Food Storage Matters (Even If You’re Not “That Neighbor”)
You don’t have to be a tinfoil-hat-wearing bunker dweller to care about emergency food. If you’ve ever had your power go out mid-meal prep, stared into an empty pantry while snow piles up outside, or maybe even find yourself short on the grocery budget one week – you already get it.
A well-stocked emergency food supply is like auto insurance—you hope you never need it, but when you do, you’re real glad it’s there.
Step 1: Get Organized & Take Stock
The best first step in emergency preparedness is super simple: just figure out what you already have.
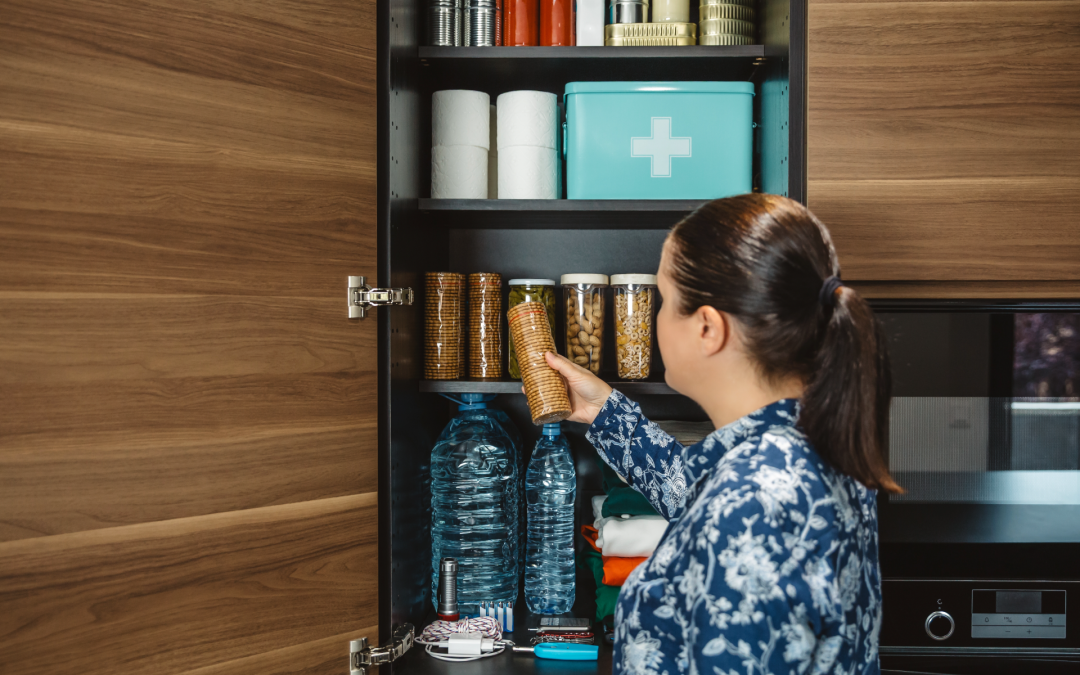
Shelf-stable foods like canned goods, pasta, rice, beans, snacks, and instant meals form the backbone of any emergency pantry—but focus on what your family will actually eat during a power outage.
Take inventory, note what’s running low or nearing expiration, and restock with meals you know will be comforting and easy to prepare.
Step 2: Make a Plan & Set Goals
The next step is to figure out who and what you are prepping for.
Do you need to plan emergency meals for picky eaters and kids?
Are there any dietary restrictions to prepare for?
Are you likely to have to cook without power?
Taking the time to understand this will help ensure you’re not wasting time or money on preps you don’t need.
Heads up! Some links in this post are affiliate links, which means we may earn a small commission if you buy something—at no extra cost to you. It helps keep the lights on (literally, in case of a power outage) and most importantly helps us spread the word that prepping can be simple and fun! Thank you for supporting our mission here at Chicken Little Preps.

Step 3: Start With a 72 Hour Food and Water Supply (and Build from There)
Start small. Even a 3 day supply of emergency meals puts you ahead of most folks.
Then, continue to round out your energy meal preps. FEMA actually recommends two weeks of food and water per person.
What to Stockpile for an Emergency (That Won’t Make You Cry into Your Canned Corn)
Here’s a no-nonsense, actually-edible emergency food list:
-
Canned goods (beans, soup, veggies, fruit, meat)
-
Instant mashed potatoes (no shame—they’re pantry MVPs)
-
Dry grains & pasta (rice, oats, spaghetti)
-
Nut butters (protein + comfort in a jar)
-
Freeze-dried meals (lightweight, long-lasting, and surprisingly tasty)
-
Protein bars, trail mix, powdered eggs or milk
-
Shelf-stable ready meals or pouches (hello, convenience!)
Want some recipe inspo using shelf-stable ingredients? Check out our off-grid recipes here »

Where to Put It (and How Not to Forget It Exists)
Emergency food storage is part pantry, part treasure chest. Protect your stash:
-
Keep food in cool, dry areas
-
Use airtight containers or bins. These 32 qt. clear plastic bins with lids are also easy to carry if you need to bug-out quickly.
-
Label and rotate items every 6–12 months.
- Think creatively. Stackable water storage bricks or shelves to stack 5-gallon water bottles take up less room once up off the floor.
- Find new places to add storage shelving like spare bedrooms and those closets you just cleaned out.
- Store what you’ll actually eat. (If your kids won’t touch lentils in peacetime, they won’t touch them in a blackout.)
Step 4: Clean, Plan, Repeat
Once your initial stash is in place:
-
Keep track of your inventory with our printable list
-
Make simple meal kits in bags
-
Add comfort foods (coffee, chocolate, something crunchy)

Want to Go Big?
Ready to level up? Consider a 1–3 month supply using:
-
Bulk grains in mylar bags
-
Freeze-dried kits (from brands like ReadyWise or Augason Farms)
-
Vacuum-sealed homemade meals
No need to buy it all tomorrow—just chip away week by week.
Final Thoughts: Keep Calm and Casserole On
You don’t need a bunker to build a backup pantry. With a little planning, you can create a food supply that helps you stay calm, comfortable, and well-fed—no matter what life throws your way.
Grab our free printable checklist here and start building your stash—one can of beans at a time.
Make a Simple Inventory
Keep it casual: just jot down what you have, what you need, and maybe a few “nice-to-haves” for later. You can use:
-
A notes app on your phone
-
A spreadsheet (if you’re fancy)
-
A notebook, clipboard, or printable Chicken Little checklist

Starting a new habit is tough—but staying prepared doesn’t have to be.
Join a community that shares your goals, because together, we can prep for life - not just the next crisis. Subscribe to our email list for friendly reminders, smart tips, and friendly prepping advice.