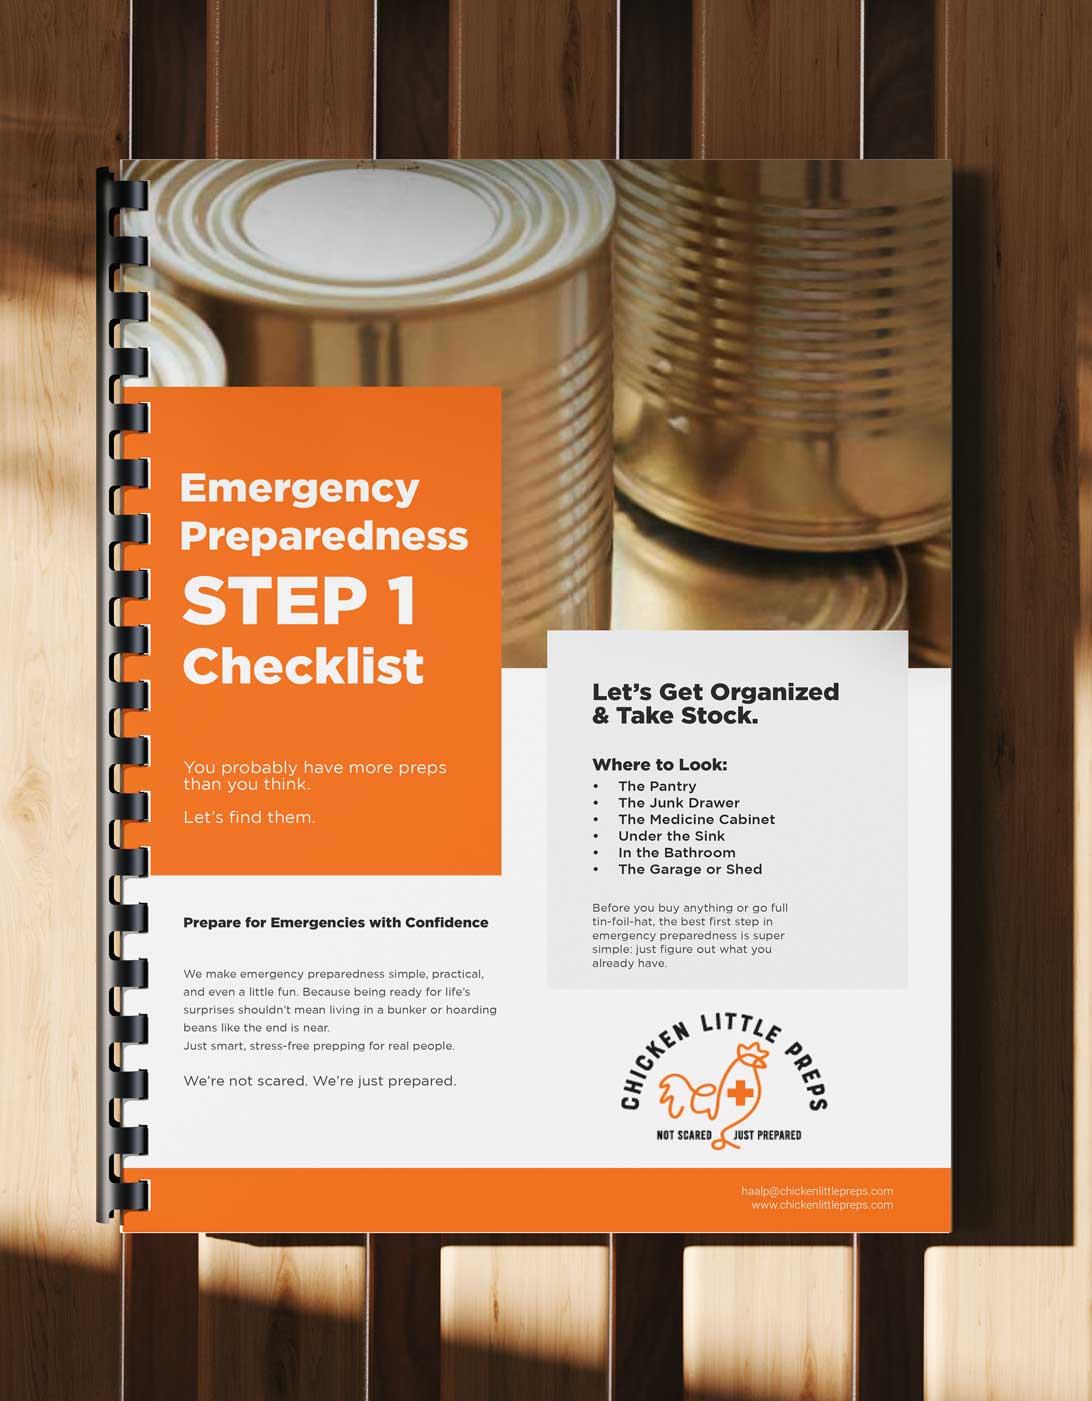
Emergency Preparedness Step 1
Get Organized & Take StockYou probably have more preps than you think. Let’s find them.

Get Organized & Take Stock
Before you buy anything or go full tin-foil-hat, the best first step in emergency preparedness is super simple: just figure out what you already have.
Why This Step Matters
When something unexpected happens—a power outage, snowstorm, or supply chain hiccup—you don’t want to be guessing what’s in your cabinets. Getting organized now saves time, money, and a whole lot of stress later.
You’re not panicking—you’re just prepping. This is your low-stress look through the stuff you own (and probably forgot about) that can help you stay fed, safe, and sane in a disruption.
Where to Look & What to Note
The Pantry
-
Shelf-stable foods like canned goods, pasta, rice, beans, snacks, instant meals.
-
Be honest—what will your family actually eat in a power outage?
-
Make note of what’s missing and what’s nearing expiration.
The Medicine Cabinet
-
OTC meds: pain relief, cold/flu, allergy, antacids, etc.
-
First aid basics: bandages, gloves, ointments, thermometer.
-
Prescriptions: note what needs refilling and consider a backup supply.
Under the Sink
-
Bleach, disinfecting wipes, dish soap, and multi-surface cleaner help maintain hygiene when water is limited.
-
Hand soap, sanitizer, gloves, paper towels, and trash bags can help keep things clean and safe during any disruption.
- And if you haven’t checked your fire extinguisher lately… now’s a great time.
In the Bathroom
- Check your stash of shampoo, conditioner, razors, deodorant, and body wash—these are the kinds of things that disappear fast in stores during an emergency.
- Make sure you have extra toothbrushes, toothpaste, and menstrual products on hand.
- And yes, toilet paper still matters (but wet wipes or a backup bidet bottle are great options too).
The Junk Drawer
-
Flashlights, batteries, matches, candles, pocket knives, chargers.
- A pad of paper or post-its and pens could come in handy – remember you might not have a charged phone or laptop to take notes.
-
Anything that’s survived the drawer of doom might just be a hidden gem.
The Garage (or Basement/Shed)
-
Check for camping gear, weather radios, walkie-talkies, lanterns, coolers, propane tanks, sleeping bags.
-
You might already own backup cooking gear or water containers.
-
Look for tools that could come in handy—buckets, hatchets, rope, tarps, etc.
Don’t Forget to Take Stock of You
Prepping isn’t just about stuff—it’s about skills. Take a minute to assess your own strengths. Do you know basic first aid? Have any experience with camping, cooking without power, or staying calm in chaos? Are you the organized one in your friend group?
These soft skills are serious assets when things go sideways. Make a quick list of what you’re already good at, and flag any areas where you’d like to learn more. Emergency confidence starts with knowing what you bring to the table—besides snacks.
Heads up! Some links in this post are affiliate links, which means we may earn a small commission if you buy something—at no extra cost to you. It helps keep the lights on (literally, in case of a power outage) and most importantly helps us spread the word that prepping can be simple and fun! Thank you for supporting our mission here at Chicken Little Preps.
Make a Simple Inventory
Keep it casual: just jot down what you have, what you need, and maybe a few “nice-to-haves” for later. You can use:
-
A notes app on your phone
-
A spreadsheet (if you’re fancy)
-
A notebook, clipboard, or printable Chicken Little checklist

Get It Together (Literally): How to Organize Your Preps
Once you know what you’ve got, it’s time to make it findable. Grouping like items together makes prepping feel way less overwhelming—and way more useful when you need it.
Use clear plastic bins to group emergency categories.
For example:
-
One for camping gear
-
One for flashlights, batteries, chargers
-
One for water purification or filters
-
One for backup cooking supplies
- One for cleaning supplies
- One for toiletries
Cluck-worthy tips:
- Label everything. You don’t want to be playing “guess that bin” in the dark during a storm.
- These 32 qt. clear plastic bins with lids are also easy to carry if you need to bug-out quickly.
Create a real first aid kit, not a scattered pile of Band-Aids.
-
Use a ready-made first aid kit, or an easy-access container or tackle box
- Restock and replace first aid items as needed
Tidy up your pantry for visibility and rotation.
-
Use tiered shelves for canned goods, clear plastic bins, or lazy Susans to keep items visible
-
Label and date your food so you can rotate it easily
-
Store newer items behind older ones to use the oldest first
Go vertical as needed.
- Find new places to add storage shelving like spare bedrooms and those closets you just cleaned out.
- Think creatively. Stackable water storage bricks or shelves to stack 5-gallon water bottles take up less room once up off the floor.
Final Thought
Don’t get overwhelmed. You’re not trying to prep for the end of the world—just the next inconvenient power outage, storm, or supply hiccup. And being able to find your flashlight without dumping out a junk drawer? That’s some next-level calm right there.
Next Up: Step 2 – Make a Plan & Set Goals
You’ve taken stock and gotten organized. Now let’s figure out what you’re prepping for—and how to stay calm while doing it.
Starting a new habit is tough—but staying prepared doesn’t have to be.
Join a community that shares your goals, because together, we can prep for life - not just the next crisis. Subscribe to our email list for friendly reminders, smart tips, and friendly prepping advice.
